


Python has a lot of built-in libraries which we use so frequently.
According to me, the best thing about Python is that it is built as an Open Source Software and many of the Python libraries/packages are also Open source, which means anyone can view the source code and contribute to these libraries.
What if you wanted to contribute your Python Package so that everyone can use it?
Well, it’s simple and that’s what I am going to share with you in this Blog.
First of all,
What is PyPI?
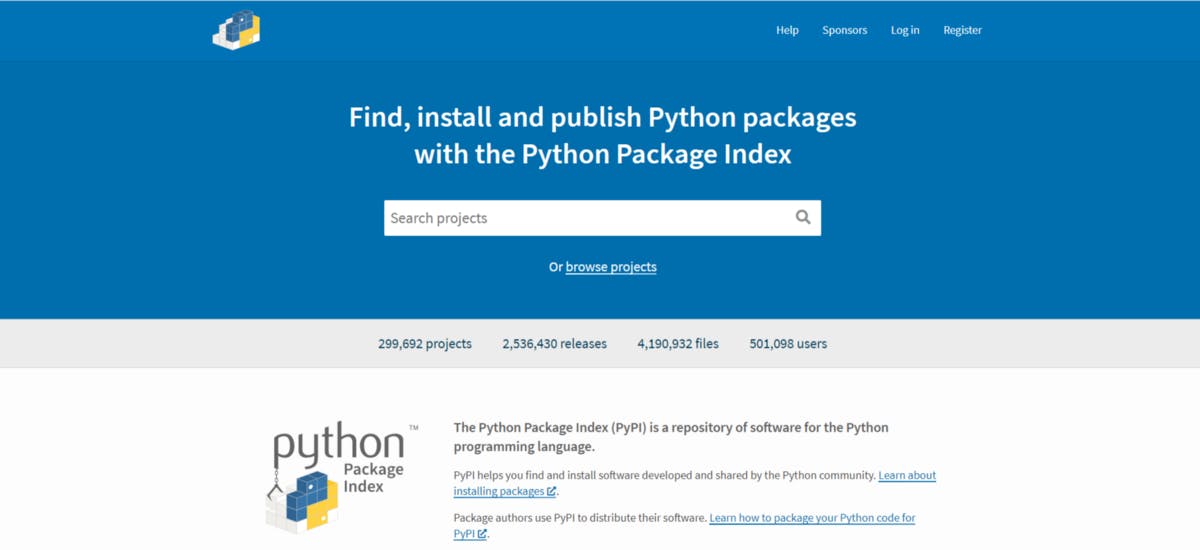
The Python Package Index (PyPI) is a repository of software for the Python programming language. PyPI helps you find and install software developed and shared by the Python community.
You might be familiar with the ‘pip’ command in Python. It is basically used to install different libraries created by the community from PyPI, which you can use in your Python apps.
For Eg:-
pip install tensorflow
What is a Package in Python?
A Package in Python is nothing but a Library consisting of different modules (files) and other sub-packages.
Now let’s look at the steps for publishing your Python Package on PyPI -
STEP 1: Creating all the files for your Package
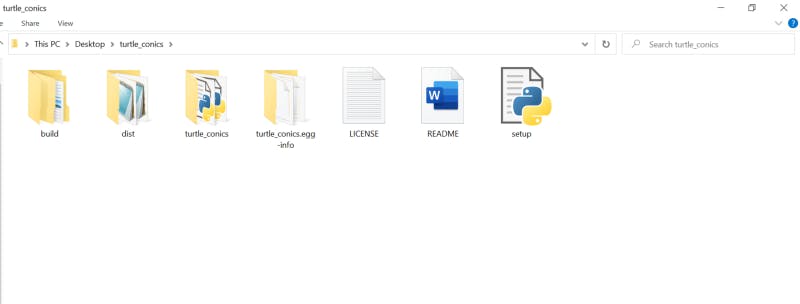
In this blog, I am going to take my Package ‘turtle_conics’ as an example.

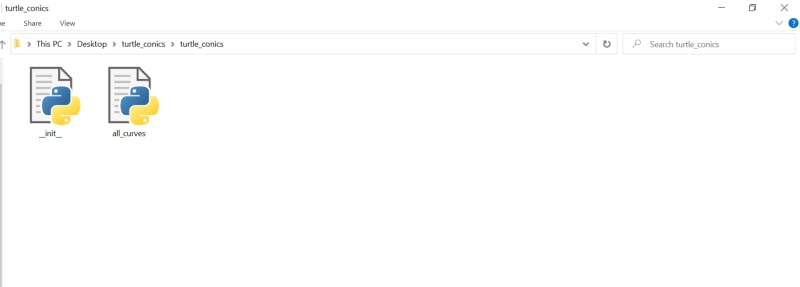
Files for my Package
First, we will have to create a folder (You can create one anywhere but here I have created it on Desktop for my convenience) (for Windows/Mac/Linux distros) with the same name as you want for your Package. So for me, it’s ‘turtle_conics’. Next, create a folder inside this folder with the exact same name that you gave to the Folder created just now.
List of Files required to be created:
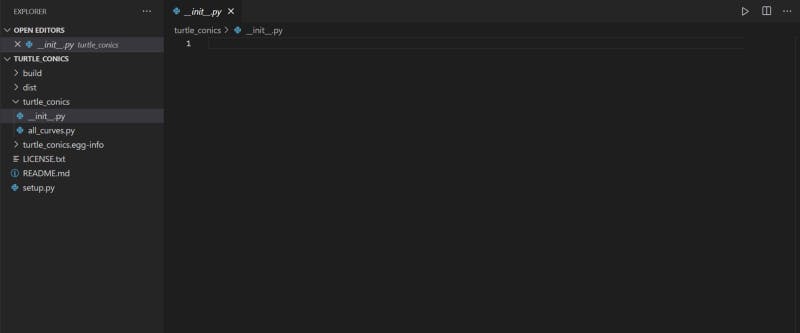
1) __init__.py file
2) Source Code Files
3) setup.py file
4) License.txt file
5) README.md
Project structure for my Package
turtle_conics/
│
├── turtle_conics/
│   ├── __init__.py
│   ├── all_curves.py
│
├── LICENSE.txt
├── README.md
└── setup.py
__init__.pyfile:
The __init__.py file is required to make Python treat directories with this file as a Package.
So now inside the folder that we just created inside my Desktop folder(for you it can be in a different location), we need to put the __init__.py file. You can keep this file empty as I did.
- Source Code files:
Now inside the same folder where we placed our __init__.py file, we can place all the source code files (Python Files).
setup.pyfile:
The setup.py file contains information about your package that PyPi needs, like its name, a description, the current version, etc. We will look directly into a real simple setup.py here:
import setuptools
with open("README.md", "r") as fh:
    long_description = fh.read()

setuptools.setup(

    name="Your Package name", # Replace with your package name

    version="version_no",

    author="Your name",

    author_email="Your email id",

    description="Description of your Python package",

    long_description=long_description,

    long_description_content_type="text/markdown",

    url="Link to your Github repo for your Package",

    packages=setuptools.find_packages(),

    classifiers=[

        "Programming Language :: Python :: 3",

        "License :: OSI Approved :: MIT License",

        "Operating System :: OS Independent",
    ],
    python_requires='>=3.6',
)
Most of the options are self-explainable, you can just copy the content of setup.py above and modify it as you need.
Please remember to list all dependencies of your package in a list and place it below ‘classifiers’ [just like there is the requirement for Python version there] or click here, so that these requirements can be installed automatically while your package is being installed.
- License File
A License File is highly recommended for any Open source project so you can choose any License according to you and save the file as License.txt.
For licenses check here.
README.mdFile
Almost every Open-source Project has a README.md file explaining the Package/Project. Hence this file is highly recommended if you want other people to understand your Project. It can be used to describe all the features/functionalities or implementation of your Project.
This is how the README for my package looks like on PyPI -

NOTE:- Save the file as README.md and not as .txt.
For creating this file you can use text editors like Visual Studio Code or you can use other Online text editors.
Now after you are ready with the License.txt file, README.md, and setup.py file, place all the three files inside the Desktop folder(for you it may be some other folder).
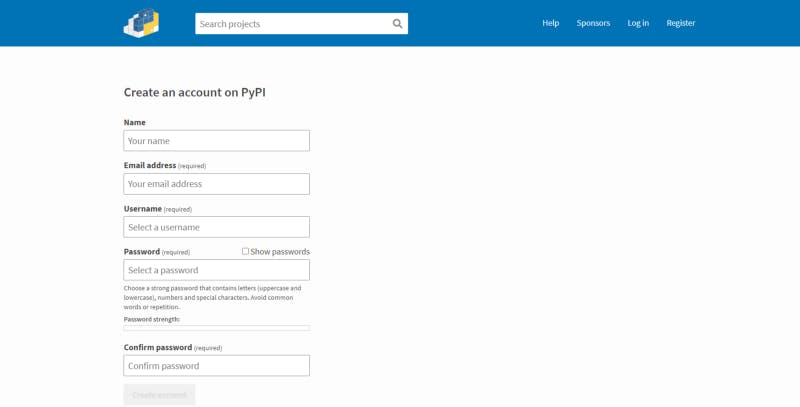
Step 2. Create a PyPi account
If you already have a PyPi account (and still remember your username/password, of course), you can skip this step. Otherwise, please go to the PyPi homepage and register a new account instantly (for free, of course).
STEP 3: Time to upload your Package on PyPI
Generating Distribution archives(wheel file):
These are archives to be uploaded on PyPI for uploading the Package.
Make sure you have the latest versions of setuptools and wheel installed:
python3 -m pip install — user — upgrade setuptools wheel
Now for Windows OS open the Folder for your Package and click on the Top address bar and type cmd. This will open the Windows Command Prompt at that Folder path.
If you are on Mac/Linux just open the Desktop folder for the Package and Right-click and Select -> New Terminal at Folder or just open your Terminal on Mac/Linux and using cd provide the path to this folder.
Now, if you are on Windows, type the following command on cmd:-
python setup.py sdist bdist_wheel
Else if you are on Mac/Linux, type the following command:-
python3 setup.py sdist bdist_wheel
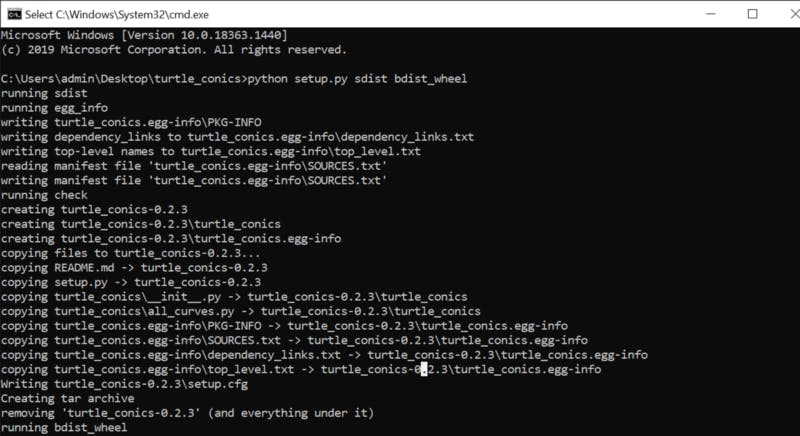
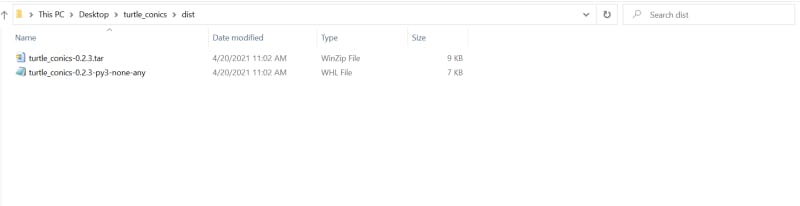
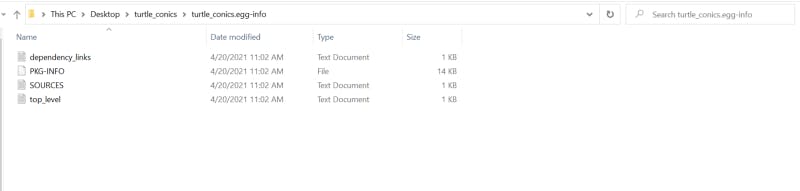
This command should output a lot of text and once completed should generate two files in the dist directory, among others in build and *.egg-info folder:
The “dist” Folder
The “build” folder
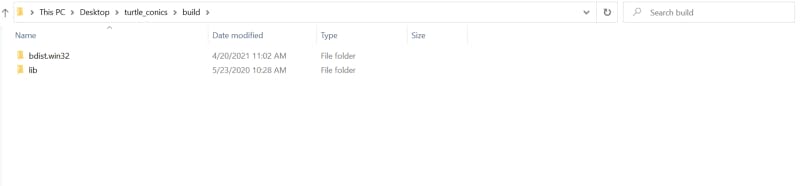
The “*.egg-info” folder
Check Package availability for different Python versions
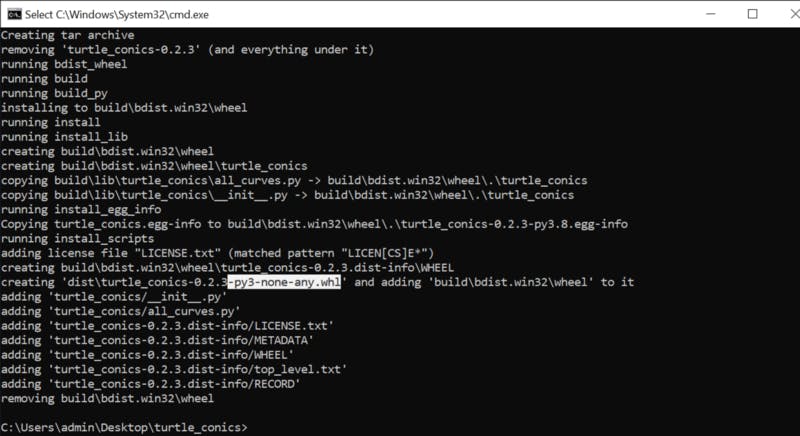
Note:- Make sure that the correct version of python “py3” is mentioned in this line in the output when you run
python setup.py sdist bdist_wheel(for Windows) orpython3 setup.py sdist bdist_wheel(for Mac/Linux distros). If it's “py2” then the module will install only in python2.x and not in python3.x.
Uploading Distribution archives:
Now it’s time to upload the distribution archives that we generated in the previous step.
For this open cmd(For Windows) and Terminal(for Mac/Linux) at the same Folder path as we did in the previous step and type the following command:-
twine upload dist/*
NOTE:-Make sure to install
twineusingpip install twine, as we will be uploading our package distribution archives using this tool.
Then enter the username and then password, the password will not show as you type. so just type it and hit enter,

Great!👏 Now we have uploaded the Package on PyPI so now go to the website and under your projects check your Package.
Installing your package:
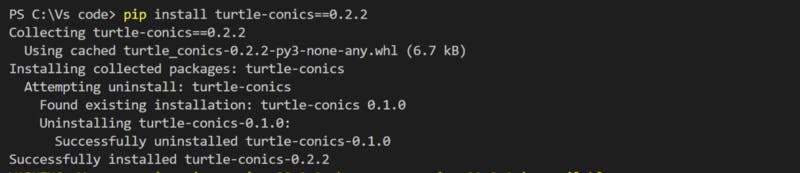
Now that we have uploaded our package on PyPI, let’s try to install it using pip just like we do for installing other modules/packages.
pip install <your package name>
**Replace <your package name> with the name of the Python package that you just uploaded.
Updating your Package
If you want to release a new version for your package where you may have made some changes to your code, then first change the version for your package in the setup.py file. Now your setup.py file should look like this:-
import setuptools
with open("README.md", "r") as fh:
    long_description = fh.read()


setuptools.setup(

    name="Your Package name", # Replace with your package name

    version="latest_version_no", **<-** **#Enter latest version no**

    author="Your name",

    author_email="Your email id",

    description="Description of your Python package",

    long_description=long_description,

    long_description_content_type="text/markdown",

    url="Link to your Github repo for your Package",

    packages=setuptools.find_packages(),

    classifiers=[

        "Programming Language :: Python :: 3",

        "License :: OSI Approved :: MIT License",

        "Operating System :: OS Independent",
  ],
    python_requires='>=3.6',
)
Now recreate the wheel file by:
For Windows:-
python setup.py sdist bdist_wheel
For Mac/Linux:-
python3 setup.py sdist bdist_wheel
And then type the following command:
twine upload --skip-existing dist/*
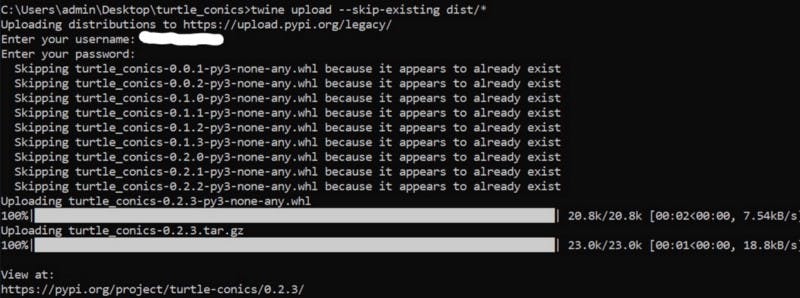
Uploading latest Package distribution archive by skipping older versions
And that’s it!! I hope this was helpful and be sure to ask in the comments if you have any doubts.
You can check out my Python Package here.
Also, I would love to hear about your suggestions on my blog posts or any improvements that I can make.
Feel free to reach out to me:
Linkedin Github You can reach out to me through my email - devansuyadav@gmail.com
Happy Coding :)